Have you ever marveled at the glossy sheen and velvety smoothness of a perfectly tempered chocolate dessert? I certainly have. The moment I take a bite, the rich and decadent flavors envelop my taste buds, transporting me to a world of pure indulgence. It’s a sensation that cannot be replicated by store-bought chocolates or hastily made desserts. No, this level of deliciousness can only be achieved through the art of chocolate tempering.
There’s something truly magical about the process of tempering chocolate. The way it transforms from a solid block into a molten pool of temptation is mesmerizing. And when the perfectly tempered chocolate finally sets, it becomes a masterpiece in its own right – a masterpiece that you have created with your own hands, using the finest baking chocolate and dessert techniques.
Whether you’re a seasoned baker or an aspiring dessert aficionado, mastering the art of chocolate tempering will open up a world of possibilities for your sweet creations. From intricate truffles to delicate chocolate shells, your desserts will be elevated to a whole new level of sophistication.
In this article, I will guide you through the intricacies of chocolate tempering. We’ll explore what chocolate tempering is, why it’s important for creating professional-looking chocolates, and the step-by-step process to achieve the ideal texture and appearance. So get ready to embark on a delicious journey as we dive into the secrets of chocolate tempering.
What is Chocolate Tempering?
Chocolate tempering is the process of heating and cooling chocolate to specific temperatures in order to stabilize its fats and sugars. This process aligns the cocoa butter crystals, giving the chocolate a smooth texture and shiny appearance. When chocolate is not properly tempered, it can develop gray streaks called cocoa butter bloom, which affects its texture and appearance. Properly tempering chocolate ensures that your homemade chocolates have a professional look and taste.
To understand the science behind chocolate tempering, it’s important to know that cocoa butter is a fat that consists of six different types of crystals. These crystals solidify at different temperatures, and only one specific type, the beta crystals, provides the desired smooth texture and shiny appearance. Through the tempering process, the cocoa butter crystals are encouraged to form stable beta crystals, resulting in chocolates that have a professional-looking finish.
The Importance of Cocoa Butter Crystals
The unique properties of cocoa butter crystals play a crucial role in the tempering process. These crystals contain a stable fat structure that gives chocolate its texture and mouthfeel. When chocolate is melted and cooled without tempering, the cocoa butter crystals can form undesirable polymorphic structures, resulting in a dull appearance and a brittle or grainy texture.
By carefully controlling the temperature during tempering, you allow the cocoa butter crystals to rearrange into their stable form. This alignment ensures that the chocolate sets with a smooth, even texture and a glossy shine. Additionally, tempered chocolate has a higher melting point, which prevents it from melting too quickly when held or consumed, allowing for a more enjoyable eating experience.
| Tips for Successful Chocolate Tempering |
|---|
| Use high-quality chocolate: Start with couverture chocolate, which has a high percentage of cocoa butter and is ideal for tempering. |
| Choose the right equipment: A heatproof bowl, a double boiler, or a microwave can be used for melting the chocolate. |
| Monitor the temperature: Use a digital thermometer to ensure that the chocolate reaches the specific temperature range for the type of chocolate you are tempering. |
| Vary the technique: There are several tempering methods, including seeding, tabling, and the chocolate tempering machine. Experiment to find the one that works best for you. |
| Practice and patience: Chocolate tempering can be challenging at first, but with practice and attention to detail, you can become proficient in achieving professional-looking chocolates. |
How to Temper Chocolate
To achieve the ideal texture and create professional-quality chocolates, proper tempering of chocolate is essential. Follow these steps to temper your chocolate perfectly:
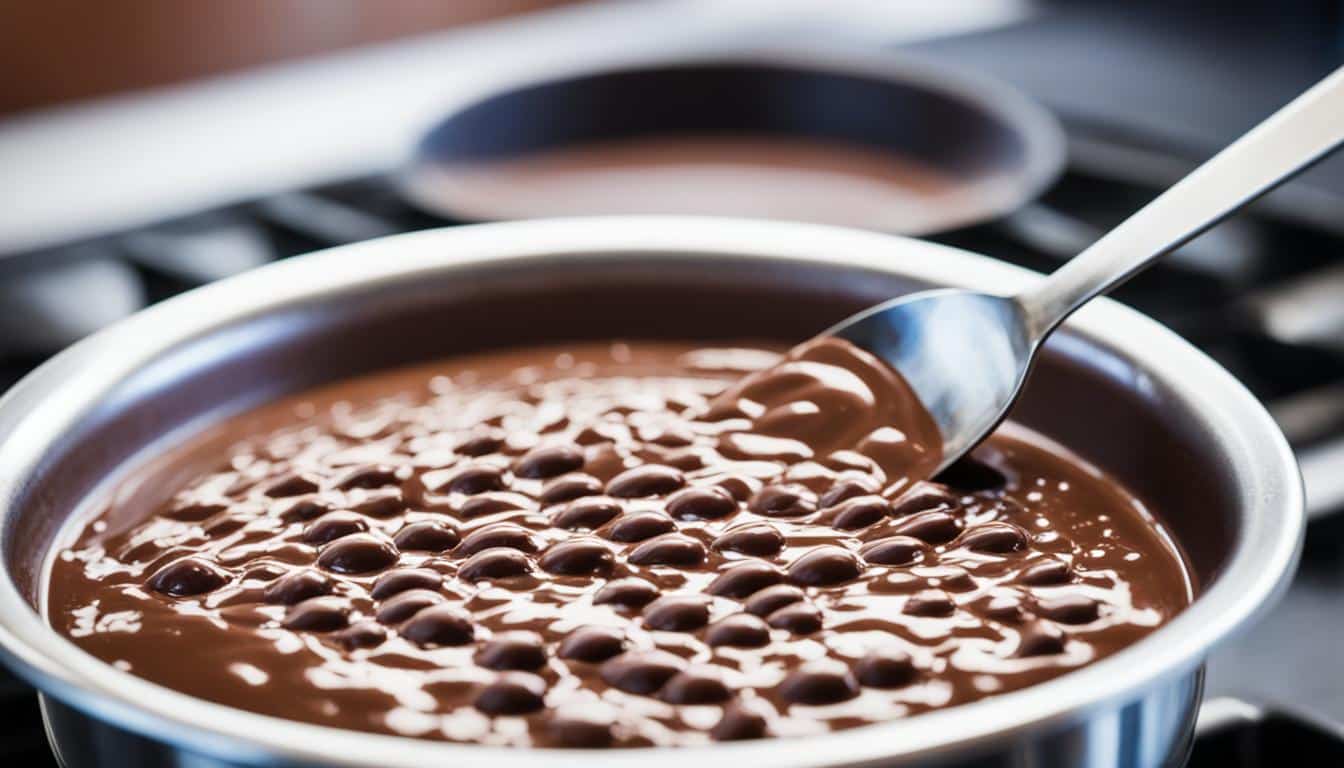
Melting Technique
Start by melting your chocolate using either a double boiler or a microwave. For the double boiler method, place a heatproof bowl over a pot of simmering water, making sure the bottom of the bowl doesn’t touch the water. Break the chocolate into small pieces and stir occasionally until melted and smooth.
If using a microwave, place the chocolate in a microwave-safe bowl and heat it in short bursts of 20-30 seconds, stirring between each interval. Be careful not to overheat the chocolate, as it can easily burn.
Cooling Temperature and Crystallization
Once the chocolate is fully melted, it needs to be cooled down to initiate crystallization. Remove the chocolate from the heat source and allow it to cool slightly. The cooling temperature differs for dark, milk, and white chocolate:
- Dark chocolate: Cool it to around 88°F (31°C).
- Milk chocolate: Cool it to around 86°F (30°C).
- White chocolate: Cool it to around 82°F (28°C).
After the chocolate has cooled, add a small portion of unmelted chocolate to the melted chocolate and stir until fully combined. This process, known as seeding, helps to form stable cocoa butter crystals in the chocolate.
Monitoring the Ideal Temperature
To ensure that the chocolate is properly tempered, use a thermometer to monitor the temperature throughout the process. It’s important to maintain the chocolate within the specific temperature range for each type:
| Type of Chocolate | Ideal Temperature Range |
|---|---|
| Dark chocolate | 88-90°F (31-32°C) |
| Milk chocolate | 86-88°F (30-31°C) |
| White chocolate | 82-84°F (28-29°C) |
Stir the chocolate continuously while monitoring the temperature to ensure even heat distribution.
Testing the Temper
To test if the chocolate has reached the perfect temper, dip a clean spatula or knife into the chocolate and allow it to set at room temperature. The tempered chocolate should have the following characteristics:
- A glossy and shiny appearance.
- A satisfying snap when broken.
- A smooth and velvety melting sensation on the tongue.
If the chocolate doesn’t have these qualities, it may need to be reheated slightly and then cooled again in the tempering range.

Following these techniques and monitoring the temperatures diligently will help you achieve the ideal texture and perfectly tempered chocolate for your delicious desserts.
Conclusion
Mastering the art of chocolate tempering is a journey that requires practice and meticulous attention to detail. By delving into the science behind tempering and employing high-quality chocolate, you can elevate your homemade chocolate desserts to a professional level.
With the right technique, you can achieve a smooth and glossy finish that will leave your creations looking irresistible. The satisfying snap and luxurious melt-in-your-mouth experience are the hallmarks of well-tempered chocolate. Your friends and family will marvel at your baking brilliance as you present them with beautifully crafted treats.
So, embrace the challenge of chocolate tempering and unlock a world of culinary possibilities. As you continue your pursuit of mastery in this art, your desserts will never be the same again. Your newfound expertise in chocolate tempering will set you apart as a true baking connoisseur, capable of creating chocolate delights that rival those found in the finest bakeries.