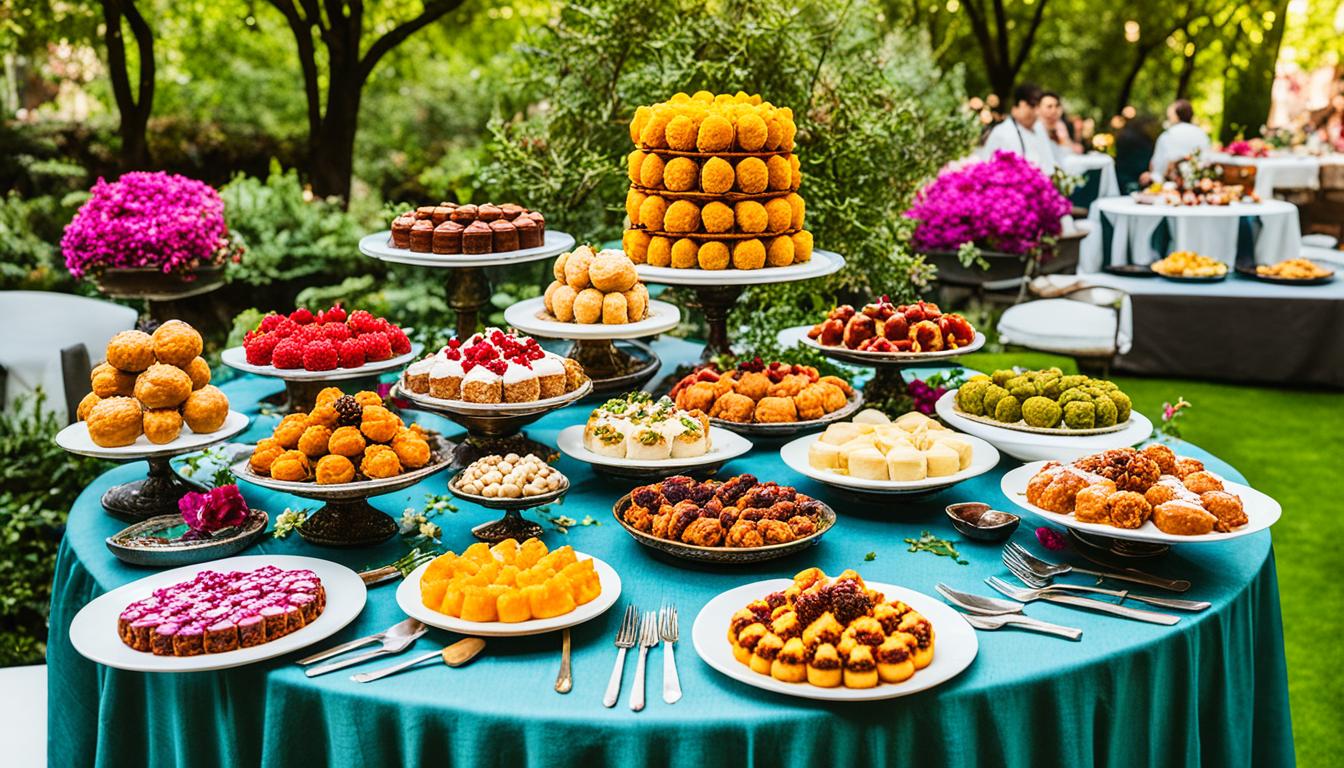
Let me tell you about the time I decided to bake a cake for my friend’s birthday. I carefully measured the ingredients, mixed them together, and poured the batter into the cake pans. Everything seemed to be going well, but when I took the cakes out of the oven, I was disappointed to find that they had domed in the middle, resulting in uneven layers.
It was frustrating to see my hard work go to waste, and I knew I had to find a solution to prevent this from happening again. I started researching cake baking tips and discovered some simple techniques to ensure flat, even cake layers.
One of the baking tips I came across was the use of cake strips. These strips are dampened fabric strips that you wrap around the outside of the cake pans to insulate the edges and promote even baking. They help prevent the outside edges from heating up too quickly, allowing the center to bake more evenly.
Another tip I found was to lower the oven temperature slightly and increase the baking time. This allows for a more gradual rise, preventing excessive doming in the center of the cake layers. It may take a little longer to bake, but the result is worth it.
Lastly, I learned the importance of weighing each pan after transferring the batter. This ensures that you have an equal amount of batter in each pan, resulting in even cake layers that bake at the same rate.
By following these baking tips, I was able to achieve perfectly flat and evenly baked cake layers. I no longer had to worry about my cakes doming in the middle and could focus on decorating and creating delicious desserts for my loved ones.
DIY Cake Strips: A Budget-Friendly Alternative
If you’re looking for a cost-effective alternative to store-bought cake strips, you can easily make your own DIY cake strips at home. This simple and budget-friendly solution will help you achieve beautifully flat cake layers without breaking the bank.
Create Your Own DIY Cake Strips
To make your own DIY cake strips, all you need are some common household items: tin foil and paper towels. Follow these easy steps to create your homemade cake strips:
- Measure out the necessary length of paper towel for your cake pan size.
- Wet the paper towels and wring out the excess water.
- Fold the paper towels to a height of about two inches.
- Cut a piece of tin foil slightly longer than the paper towel.
- Place the wet paper towel on the foil.
- Fold the tin foil around the paper towel, crimping the edges together to secure it.
- Attach the DIY cake strip to the side of the cake pan.
Once your DIY cake strip is securely attached to the pan, you can proceed with baking your cake as usual. The homemade cake strip will help insulate the edges of the pan, ensuring even heat distribution and preventing excessive doming.
This budget-friendly alternative can be used multiple times before needing to be replaced, making it a sustainable solution that saves you money in the long run.
Now that you know how to make your own DIY cake strips, you can confidently bake flat and even cake layers without investing in expensive store-bought options. Enjoy creating beautifully level cakes for all your baking endeavors!
Tips for Leveling and Decorating Flat Cakes
Even with the use of cake strips and proper baking techniques, sometimes cakes may still have a slight dome. To achieve a perfectly flat top, you can level the cake using a long serrated knife, carefully removing the rounded portion. This will create a more even surface for stacking and decorating.
When it comes to cake decorating, having flat cake layers is essential for achieving professional-looking results. Flat layers ensure that the frosting and decorations are evenly distributed and create a visually appealing final product. Whether you’re using buttercream, fondant, or other decorative elements, starting with flat cake layers sets the foundation for a beautifully decorated cake.
To level a cake, I recommend starting with a completely cooled cake as it will be firmer and easier to work with. Place the cake on a flat surface and use a serrated knife to carefully trim off the domed part. Take your time and make gentle, even cuts to avoid any unevenness. Remember to trim it just enough to create a level surface, but be careful not to cut off too much or the cake may become too thin.
Once your cake is leveled, you can proceed with the decorating process. Start by adding a layer of frosting on top of the bottom layer, spreading it evenly using an offset spatula or a cake decorating tool. Place the next layer on top and repeat the process until all layers are stacked. By starting with flat cake layers, you create a sturdy and even base for whatever decoration technique you choose.